Sunday, January 29, 2012

Hand quilting

 I have been working on the quilt I put together a couple of weeks ago.  If you have never hand quilted before, there is no reason to make it hard.

  • Use a small needle.  The rule is, the smaller the needle; the smaller the stitches.  Use one that you are comfortable with.


  • Make a knot and enter the needle through the top layer of  fabric, about an inch away from where you want to start.  Pull the knot under the fabric and it will be hidden, then bring the needle up where you want to start.


.

  • Try to rock the needle in and out of the fabric, making 2-3 stitches at a time.  This makes it look more uniform on the back.  


  • When you need to change the thread make a knot using the last stitch you made.  Just put your needle through it and go through the loop you have made. Then take the needle under the top layer of fabric and clip the thread where you bring it out.  


  • If you are quilting and it is awkward. Tie a knot and start at it from another angle.
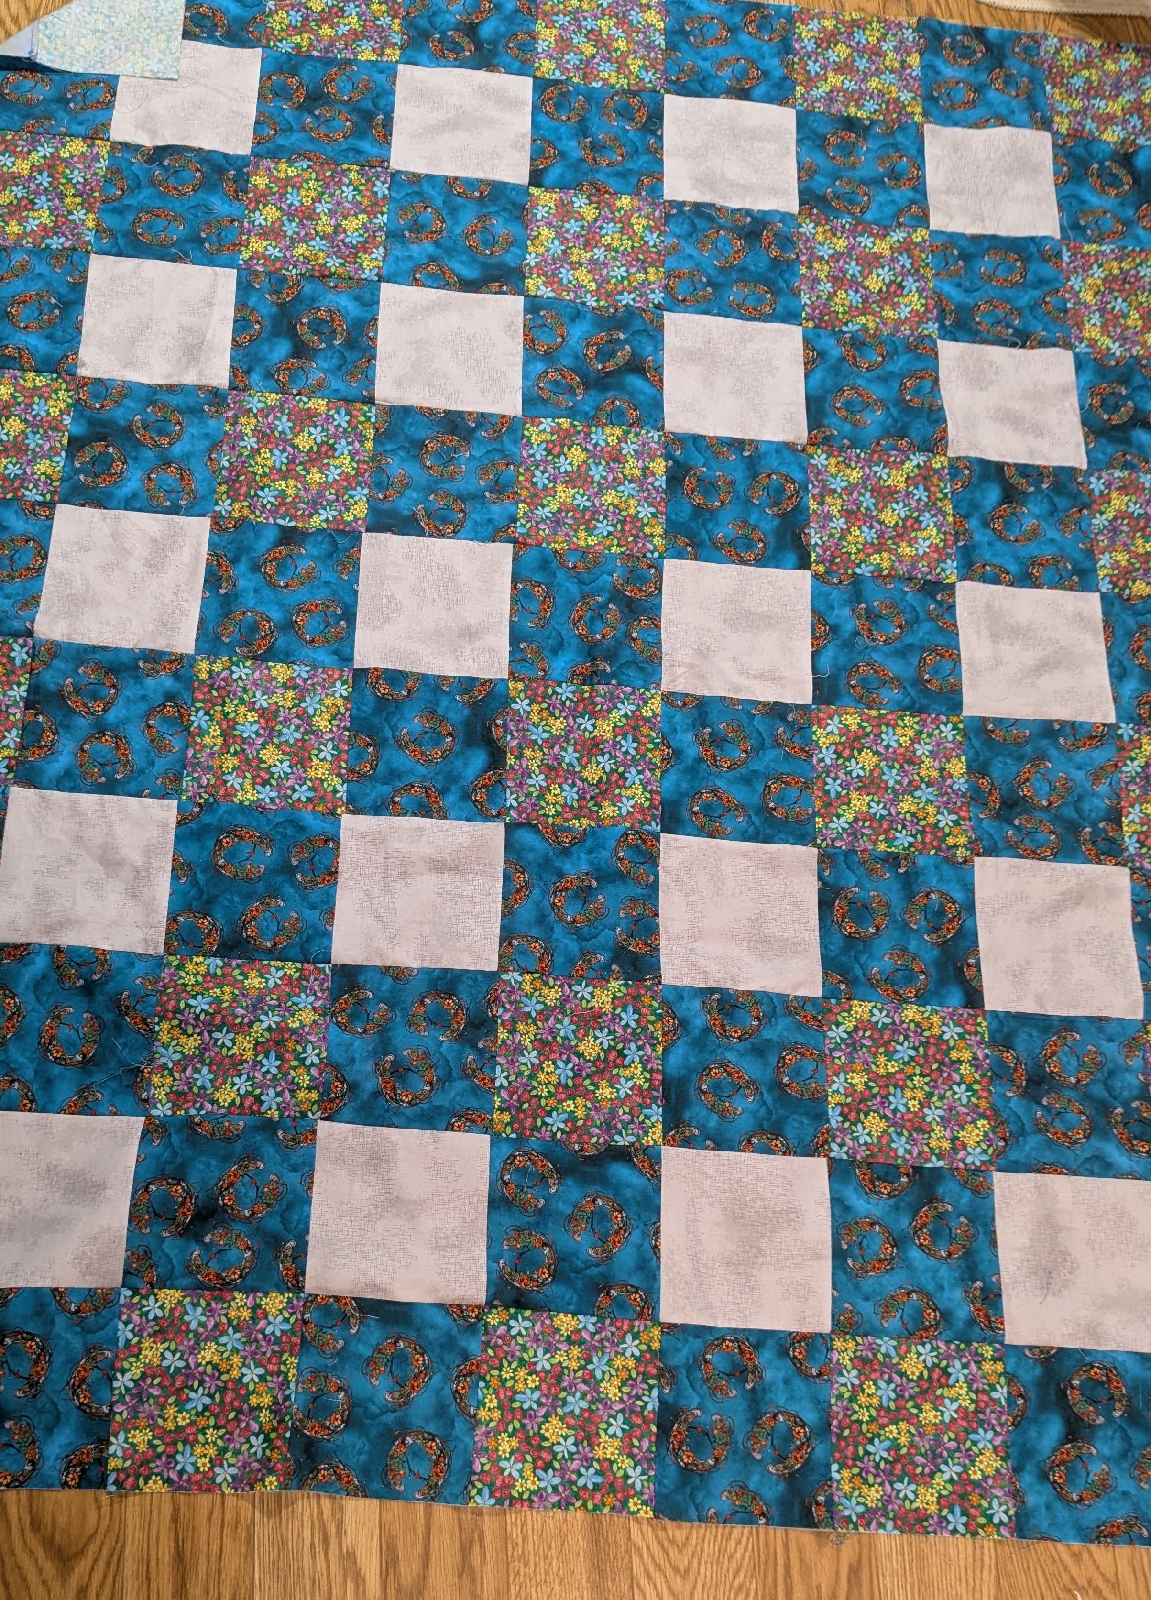
Remember that you are going to put 100's of stitches in the quilt, so if one is crooked or too big, you may never find it in the finished product.  I love to hand quilt.  I find it relaxing.  Give it a try.

Sunday, January 22, 2012

Receiving Blankets

I like to make receiving blankets for baby gifts.   I often get asked how to make them.  So here are few of my secrets.  
For each blanket you will need:
1 1/4 yards flannel for the front 
1 /14 yards flannel for the back

I always wash them first.  

Put them together right sides out, lining up the selvidges.
 They may not be the same size.
Press both sides.


Then fold in half and use the rotary cutter and trim off edges.
Fold in half the other way and trim it too.
I like rounded corners so I use the scissors to cut off the corner.  
Then I use the corner for a guide to cut off the other corners.
Now you need to finish the edges.  
I use the blanket stitch on my sewing machine.  
When I had a serger, I used it.

If you use this needle, it will make a little hole in the fabric.  
After I use the blanket stitch, with this needle.  I un-thread my machine and put it back on a straight stitch and go around again.  If you were sergering, I would serge, then use this needle in my machine, like I just described.  It works best if you can go around with this needle twice.

This may seem out of place, however, it may the most important step.  This hair color kit comes with a small crochet hook. I have never found another hook with a head this small. This is the hook I use.  

I single crochet around the edge, going in every other hole.  

Then I single crochet all the way around.  It makes a nice base.
You can do anything from here.
I have seen beautiful work done on these blankets. 
Here are a few simple things I like to do.

This is a little bump I like to use for baby boys.  
Single crochet 7 stitches
Chain 3 and bring it through the same stitch.

I like the look of this.  It almost looks like a little ruffle.
Chain 4 and bring through  the next stitch.
Repeat.  

This little project makes a great gift.  I only buy flannel when it is half off.  I bought these on Black Friday for $1.69 a yard.  If you do the math, that is under $5 a blanket.  

Saturday, January 14, 2012

Is it Just Me?

Is it just me?   I love to sew and make quilt tops, but I can't afford to take them to a quilter to have them quilted.  Don't get me wrong, I love machine quilted quilts, but with a limited budget, I have had to learn how to do it myself.  Let me walk you through the basics.  
  • Iron the front and the back with a hot iron.  I use steam.


  •  Now is the time to mark the quilt top.  This is going to be a napping quilt and I am not going to do anything fancy.  I will use the angles that are there to help me find a simple design.

  •   Pick a batting.  If doing it by machine, use a cotton batting.  If doing it by hand, use polyester.  I buy    batting when it is 50% off.  I usually buy a Queen or King size.  I can use it on several quilts.

  • This quilt is a 50 x 80.  I bought 5 yards of fabric and cut it at 2 - 1/2 yards.  Then I sewed them together and cut off the excess.  I will use it for the binding.  For this size quilt I lay the back, right side down, on the floor and tape the long sides to the floor.  I use masking tape.  If it will fit on my table, I like to tape it to the table.  If it is bigger, well, that is another post.


  •  Then I put on the batting and trim off  the excess.  I roll up what is left and put it back in the bag.  I know I will be able to use it up.


  •  Then put the quilt top on, right side up and tape the short sides to the batting and the floor.  Try to pull it so there are no wrinkles.  This may not be the best picture.


  •  Then sit on the floor and gently lift it up and baste the  outer edge.  When working on the long edge, just lift up the tape and baste and then push it back down.
  • For this size quilt I use this quilt frame.  If you choose to use a hoop, the quilt will need to be pinned with safety pins about every 10 inches.  
  • I have a friend who uses a 10 inch hoop and quilts beautiful, queen size quilts.  Just choose something that works for you.


  •  Picking a good thread will save you many a head ache.  I love Gutermann quilting thread.  This is hand quilting thread, but their machine quilting thread is great for hand quilting too.

  • I guess I better start quilting.  I will post the finished project in the future.  

Good to be Home

I finished this cross stitch.  I'm looking forward to visiting the Redwoods this Summer with my kids.  I was home this weeke...